
10:24:53 PM
The Online Magazine FOR and ABOUT Southside Virginia
3/19/2026
|
In This Issue |
|
|
Issue Cover
Articles
My Truce with Pie Crusts
Container Gardening - Part 3
Eating Healthy - Part 1
Pun Intended
|
|
|
Columns
|
|
|
Departments
Festivals & Events
Farm & Ag Info Farmers Markets Listing
Press Releases Southside Master Gardeners
|
|
|
Past Issues
Past Issues are available from June 2008 through the current issue.
|
|
|
|
Container Gardening - Part 3
Building a Raised Bed Garden
In part 1, we told you how we came to our decisions and began the process of building of our container garden. In part 2 we will take you along with us as we create some raised beds, get them filled with soil and plants and try to become gardeners. We will spare you some of the gory details, but will share our bumps and bruises so you can learn from our mistakes.
After clearing the ground, we staked out the area we thought we wanted to put the beds. This area was the most level and already had a nice patch of exposed soil from having parked a trailer there for a season.
Going out in the morning to check on the sun the area would get, we realized that the one remaining tree in the yard would shade the area until early afternoon.
 By moving the beds a few feet closer to the house, we had an area that would be in full sun a few hours earlier. Fortunately we didn't have a lot of time invested in preparing this area, so moving the bed area wasn't a great loss. We just wish we thought to check this out earlier.
After cleaning up the new area, we set out to build the beds out of our previously acquired lumber. There were several ways we could have built these box frames. We could simply cut the 6x6's to the length we wanted and stack them on top of each other, but that would require screwing or bolting them together with corner brackets of some kind. We really didn't want to rely on fasteners so this idea was not for us. We have seen raised bed kits which used mortise and tenon joints. This looks great and doesn't rely on bolts or screws, but we knew our woodworking skills weren't up to the task.
In Berry Hill's catalog we had seen a picture of raised beds which were notched on the corners and liked the idea.
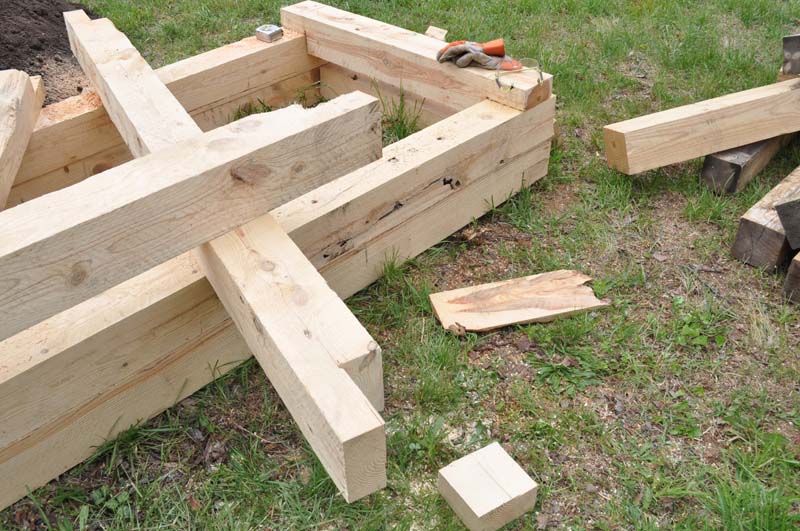 |
| Constructing Raised beds from rough cut 6x6 lumber. Timbers were notched with a chainsaw. Note the gloves and safety glasses. These are a must. |
This plan worked out well enough with a few minor issues.
When we got the lumber from the sawmill, they offered us what we thought was a great price if we were willing to take the culls they had put aside for us. At only $2 each we bought the whole stack of rough-cut 6x6s. These culls ran from a little over seven-feet long to almost 16-feet. We knew the seven-foot lengths would be a problem for the eight-foot beds we wanted, but thought for the price we could deal with the short lengths as long as we had a few extras.
The first hitch in our plan was that we didn't think about the size of the lumber itself when we figured the bed sizes.
 When working with 6x6 lumber, there is a big difference between the inside and outside measurements. If we wanted true four-foot by eight-foot inside, the beds would have to be five-foot by nine-foot outside. We didn't have enough lumber for that correction. So we fudged a little and made our beds four-foot by eight-foot on the centerline of the lumber. This gave us 4'6" by 8'6" outside dimensions and 3'6" by 7'6" inside. Not quite the size we wanted, but it would have to do. If we had been working with standard size lumber in eight-foot lengths we could not have done this and would have had to live with the beds being three-foot by seven-foot inside.
The next problem was when we realized that some of the timbers were true 6x6 and some were 5 1/2" x 5 1/2". This wasn't a major problem, but it did make for some interesting measuring and cutting to get everything to match. For cosmetics, we opted to make the timbers flush on the outside so some of the notches had to be different sizes to get the offset right.
After solving the problem of the new blueprint, we set to work cutting and notching. In our minds it should have been a quick job of cutting the notches with a chainsaw.
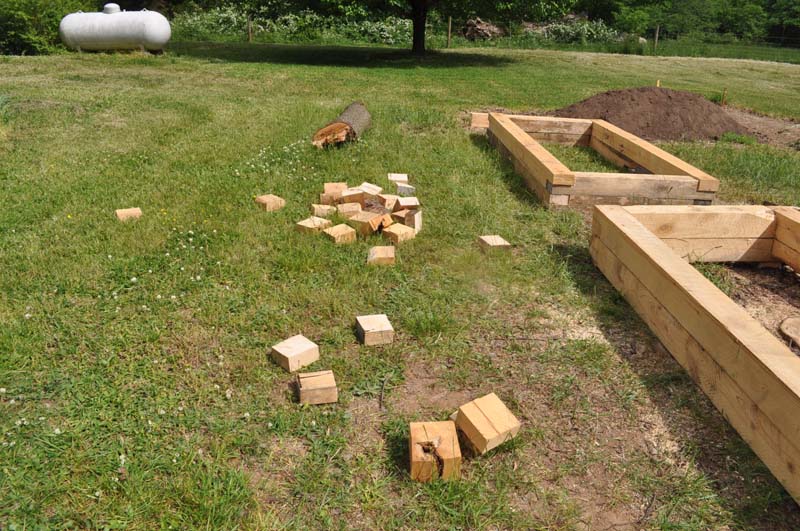 |
| Notching the ends of the 6x6 lumber was more work than we thought and generated a lot of 6x6x3 blocks. |
During the cutting phase we made a few mistakes, some we blame on the irregular sizes of the lumber and some were just pure Oops factor.
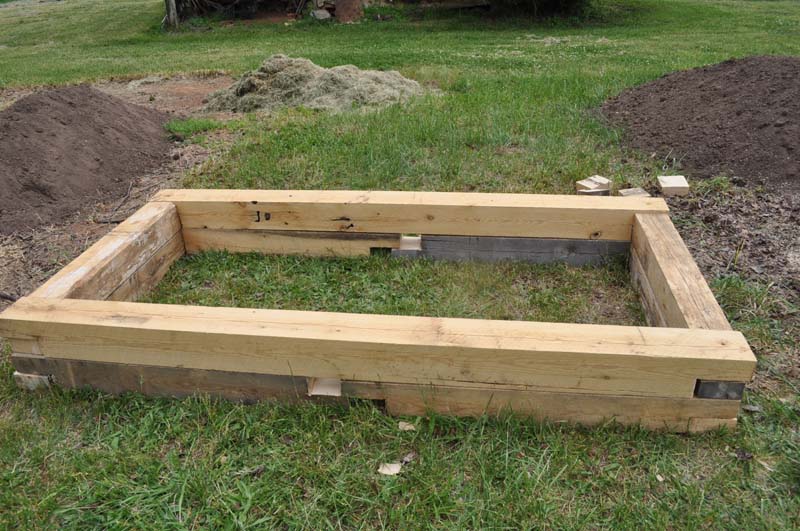 |
| We miscalculated the overlap on the Butt Joints. Leaving these drain holes. We are going to pretend this was on purpose. |
In the Lessons learned column, a great price is not always a great deal.
 Although we did get a good price on the lumber, next time we would spend the extra for better materials. We would still get rough-cut culls from the sawmill, but would hold out for a better selection. Lumber in matching sizes and lengths long enough to keep from having to piece them together would have been very nice. At the time saving somewhere between $30 - $50 sounded great, but we think we might have been better off paying more and saving a lot of work and aggravation.
Once we got all the lumber cut, stacked and squared up, we drilled the corners with an extra-long drill bit
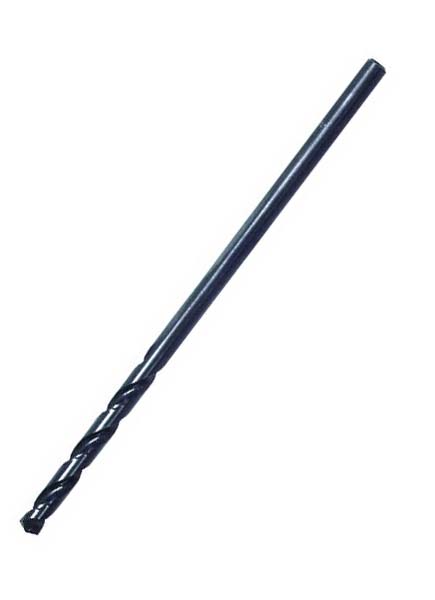 |
| An extra-long drill bit was used to drill a pilot hole all the way through the timbers.
1/4" Drill bit P/N 318659 5/16" Drill bit P/N 318846 |
 |
| 5/16" Round Steel Rods ground to a point.
5/16"x4' Hr Round Steel Rod - Available from most hardware stores. |
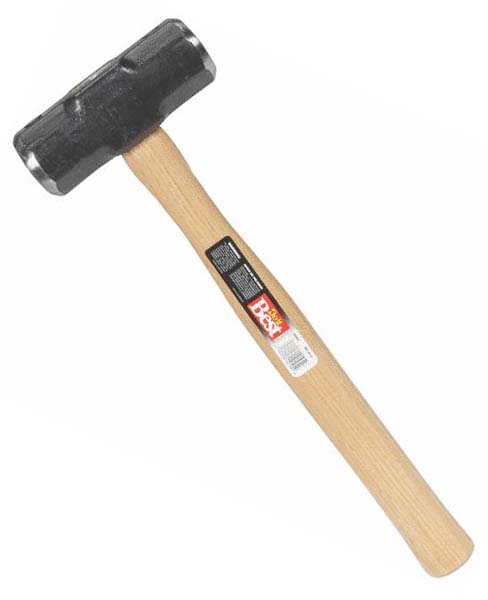 |
| We used a 6lb short-handled sledge hammer to drive in the pins. (Similar to 4 Lb hammer shown) |
After getting the beds built, it was time to fill them with soil. We were fortunate that Dana's Garden Spot is not far away. Dana did the homework and created a nice soil mix of topsoil, compost and a little sand for drainage. This is some pretty soil and we didn't have to figure out how much of each to get and mix it ourselves. For a reasonable fee they agreed to deliver the soil to out garden site.
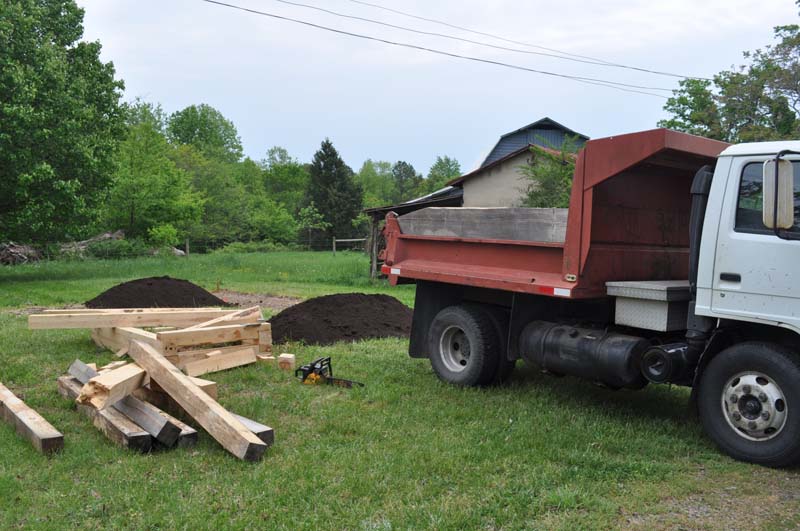 |
| Dwayne delivered this nice, rich soil mix from Dana's Garden Spot. |
After filling the raised beds we were off to get some plants. We headed out to Reese's Farm Fresh Produce in Scottsburg. As we said in the introduction, we like Reese's because most of their plants are either their own starts or from a trusted local source. We asked Don Reese to help us pick out some plants and suggest planting methods. We wound up getting some tomatoes, peppers, cucumbers, zucchini squash and some rosemary.
Side Note: We're not sure why we had to get Zucchini, according to Bubba they just grow wild around here [Ask Bubba - July '08], but were told it is a tradition so we got some anyway.
When it came to selecting plants, we knew we wanted some large tomatoes for slicing and for sandwiches (AKA 'mater sammages in the south), so we got some "Beef Masters"
 which are big and meaty. Don suggested some "Early Girls" so we would have some tomatoes early in the season. When we asked what else he would recommend, he showed us some "Pink Girl" tomatoes. "Pink Girls" are some of Reese's own plants and a nice compromise between the "Early Girls" and the Beef Masters. The �Pink Girls�, come in after the "Early Girls" but before the Beef Masters. They should give us some variety in our garden and keep us in tomatoes between the early and late season plants. We can't wait to see if they are really pink.
Knowing we were going to be tight on space in the beds, we asked about some smaller plants. Don showed us some bush cucumbers which are a smaller plant yielding 4"-6" cucumbers, and you can stake them up more like a tomato plant which should give some extra room to work with.
Don was great about helping us through the selection process and giving us pointers about plant spacing and planting depth. This kind of service is just one more reason to deal with a local family-run place.
After reading about Companion Planting, we wanted to try it.
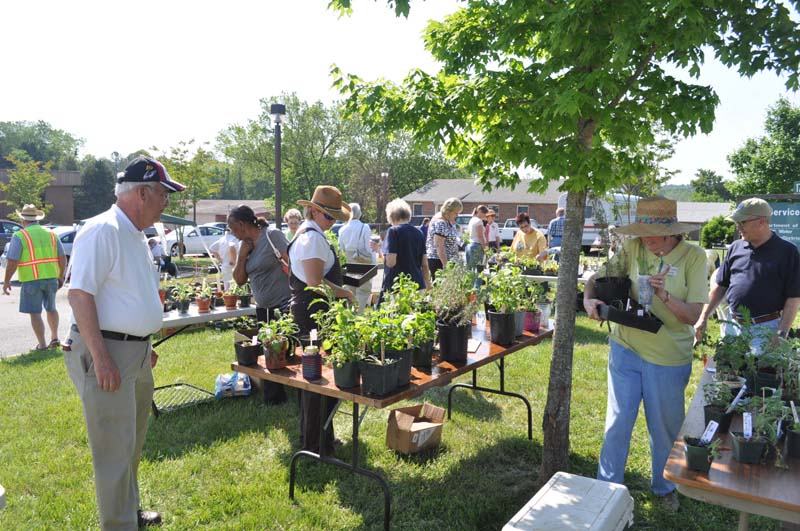 |
| William McCaleb Looks on at the Master Gardener Plant Sale. |
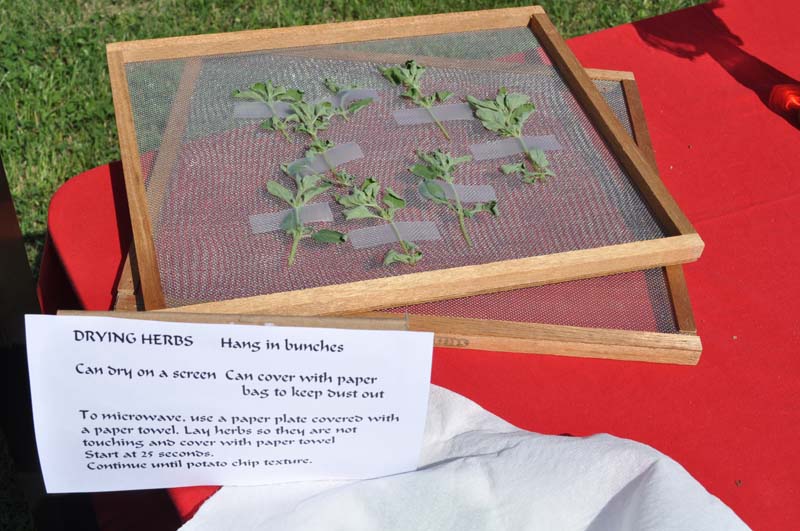 |
| A display about preserving herbs at the Master Gardener Plant Sale. |
One thing we wanted was some basil, but they were all out of at the Plant Sale. We lucked out and found some at the South Boston Farmers Market.
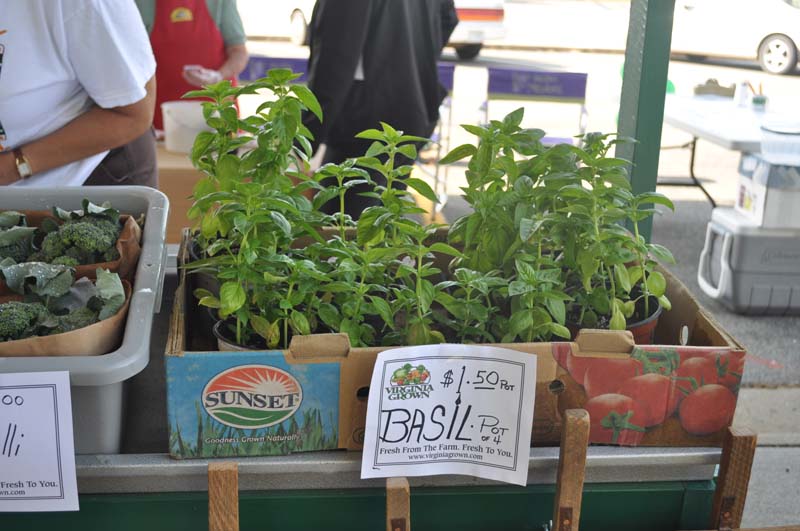 |
| We found some beautiful basil plants at the South Boston Farmers Market |
Back at the garden, we set about planting all our goodies. This is where we came across another Oops. When we decided on 4x8 beds we had it in mind that we would get four rows one foot apart. We don't quite know what we were thinking. That layout might be fine on open ground where there is no boundary, but in a box the math doesn't work.
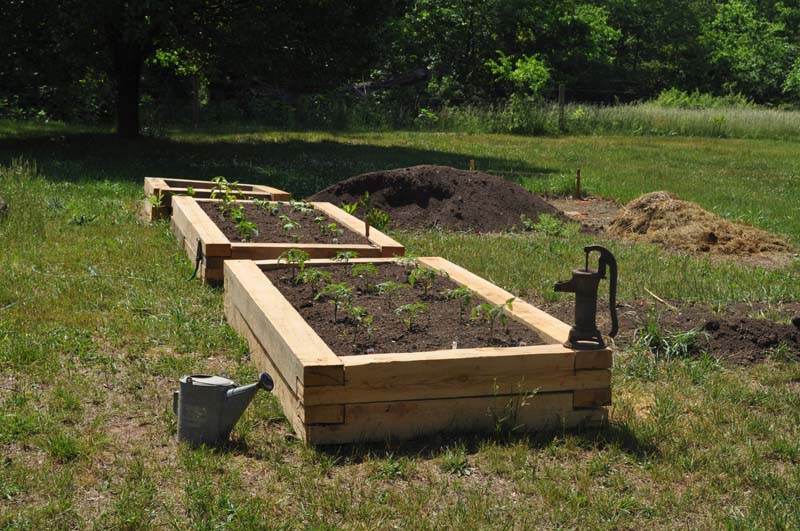 |
| Raised beds completed and plants beginning to grow. |
One thing that did work out well was with the extra 6x6s we had enough left over to build a third, smaller bed to make into an herb garden.
Check back next issue to see how they did. Also in the next issue, we will install our Drip Kit for Raised Beds from Berry Hill Irrigation.
Check out the rest of the series
Container Gardening - Building a Raised Bed Garden Part 1
Container Gardening - Building a Raised Bed Garden Part 2
We would like to thanks the following people and businesses for their help in this project. Without them this would not have been possible.
|
Berry Hill Irrigation, Inc.
|
BLC Building Centers
|
|
Dana's Garden Spot
|
Reese's Farm Fresh Produce
|
|
Tightsqueeze Hardware
|
William H. McCaleb
|
PO Box 1061
South Boston, VA 24592
URL: http://www.discoversouthside.com
Copyright © 2008-11 Discover Southside
-